Supplies:1x 6" to 8" Reducer
1x 6" Duct Cap
1x ]8" Duct Cap
1x 5' Roll of 1/4" Hardware Cloth
2x 8" Hose Clamps
1x 6" Piece of 6" (duct) Pipe
1x Pair Panty Hose (color optional ;))
Carbon (from pet store)
Poly "quilt filler" (from craft store)
Sheet Metal Screws
Construction:First cut your 6" piece of duct pipe. Cut your piece of hardware cloth to fit around the 6" pipe leaving a 2" overlap. PULL IT TIGHT.
Next screw the hardware cloth to the 6" pipe leaving 2" at the end of the pipe clean. This way it will fit into the 6" to 8" reducer.
Do this at the other end with the 6" cap. I used zipties to tie the hardware cloth down in a few spots.
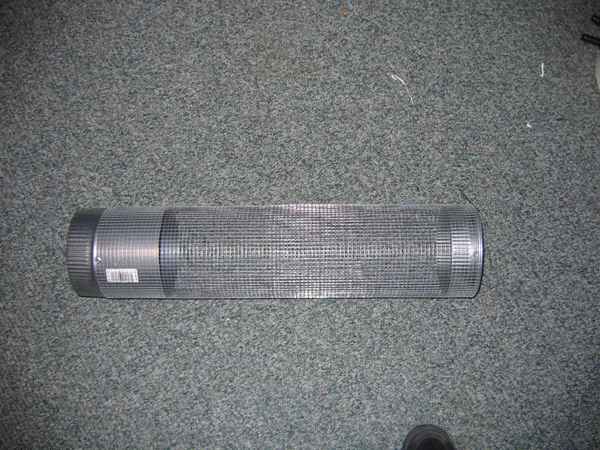
Now pull your piece of panty hose over the whole unit and push it firmly into the 6" to 8" reducer.
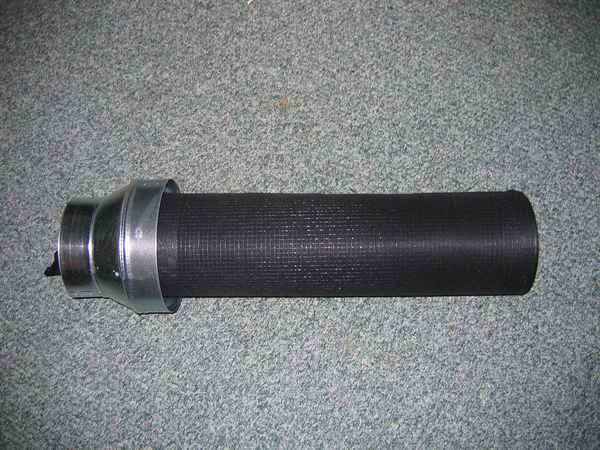
The INNER CORE is complete.
Next, push poly fill into the space between the 6" to 8" reducer and the filter core.
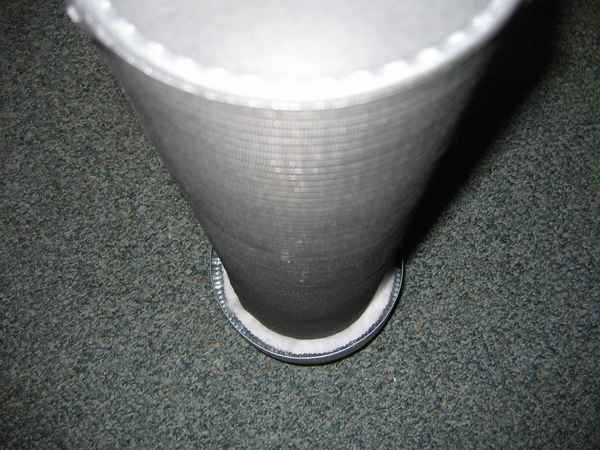
Then cut your piece of hardware cloth to go around the 6" to 8" reducer and screw it on. I used zipties again to secure the hardware cloth.
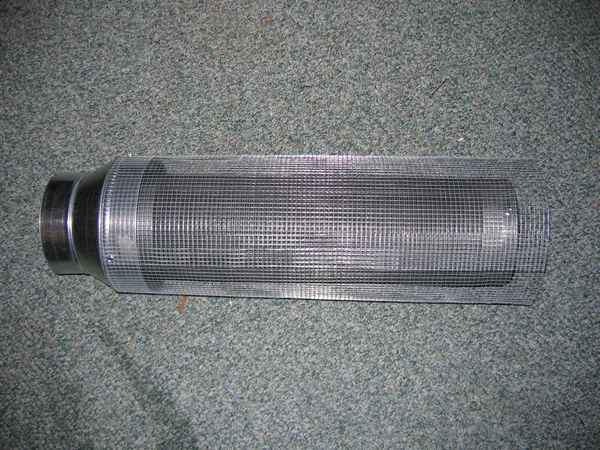
Add prefilter if desired. (makes carbon last longer)
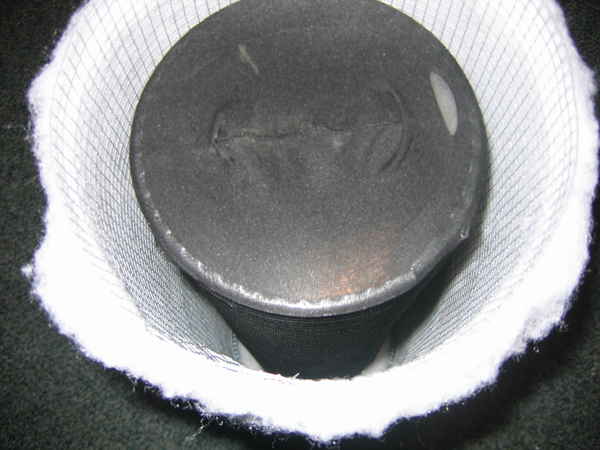
I used a hose clamp to secure it on both ends of the filter. I also used white yarn to stitch the seam.
Add your carbon.
Put a layer of polyfill under end cap.
Hose clamp the cap to the end for easy refills.
Now you just have to add your blower.
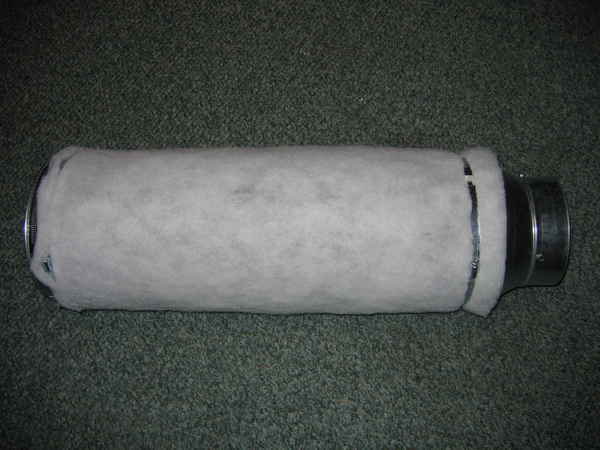
If you are worried about noise from you LOUD fan there try this...
Tie a sleeping bag around the air duct. This will reduce your vibration and in turn cut down on your noise!
